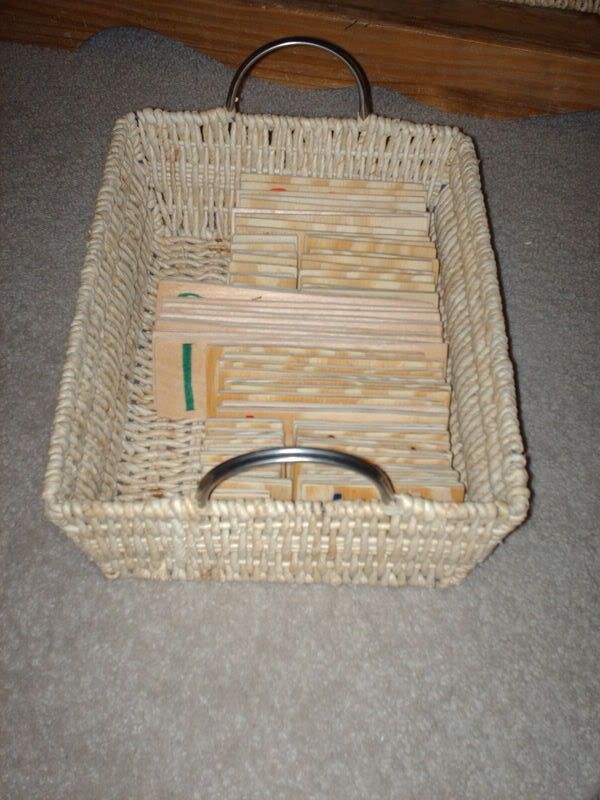
 I thought this would be something I would just buy, orginally. I mean it's just $10. Then I found out that to do the activities with them you need 2 sets of large number cards and 3 sets of small number cards and then decimal cards! That's $50 +shipping without the decimal cards. Didn't take me long to change my mind, LOL. Here are my large number cards and instructions on how to make them!
If you don't want to cut them from wood, make them from foam, cardboard or cardstock :)
(9) 2" x 2.5"
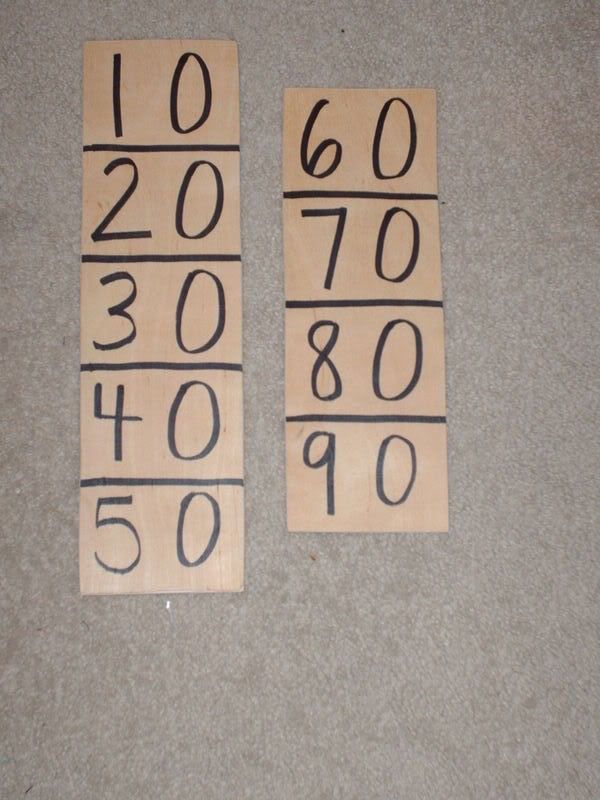
(9) 4" x 2.5"
(9) 6" x 2.5"
(9) 8" x 2.5"
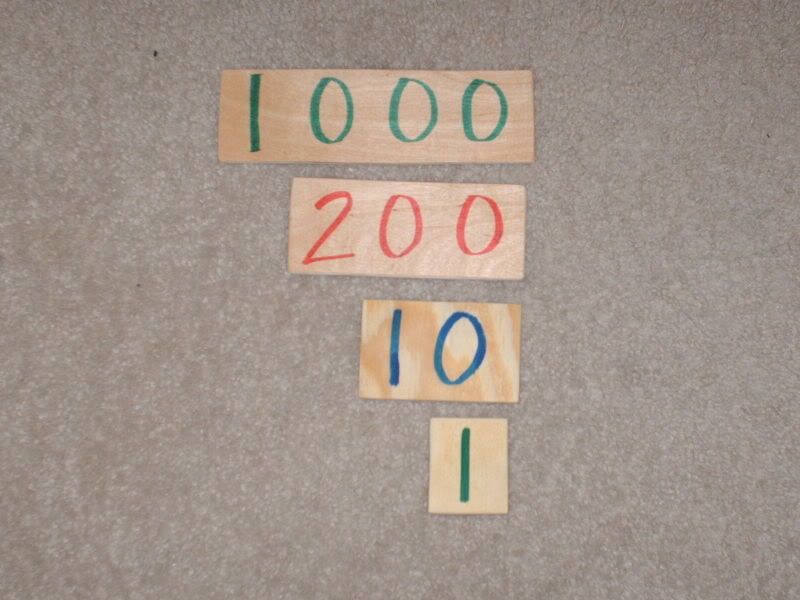
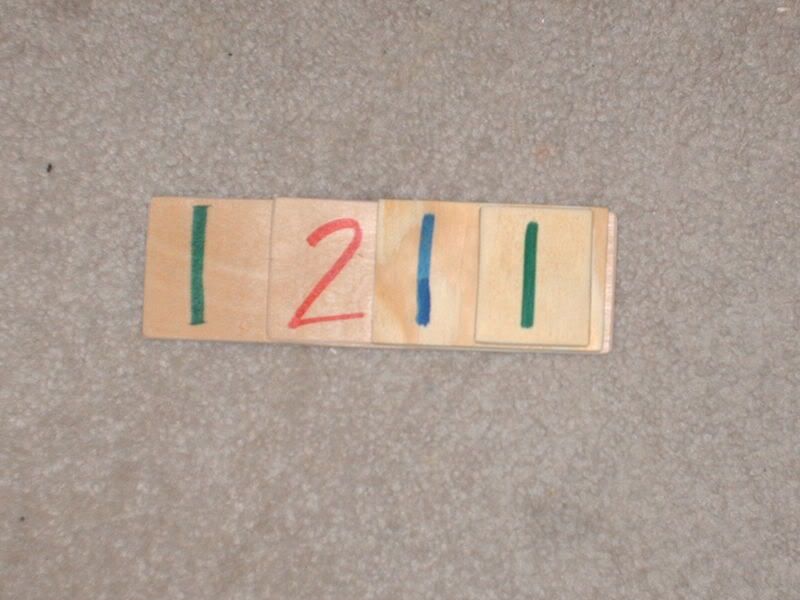 Then you need 3 sharpies in red, blue and green. Write the numbers 1-9 in green on the pieces that are 2". Use a blue sharpie and write the numbers 10-90 (10, 20, 30, etc.) on the 4" pieces. Use the red sharpie and write the numbers 100-900 on the 6" pieces. Then use the green again and write the numbers 1000-9000 on the 8" pieces.
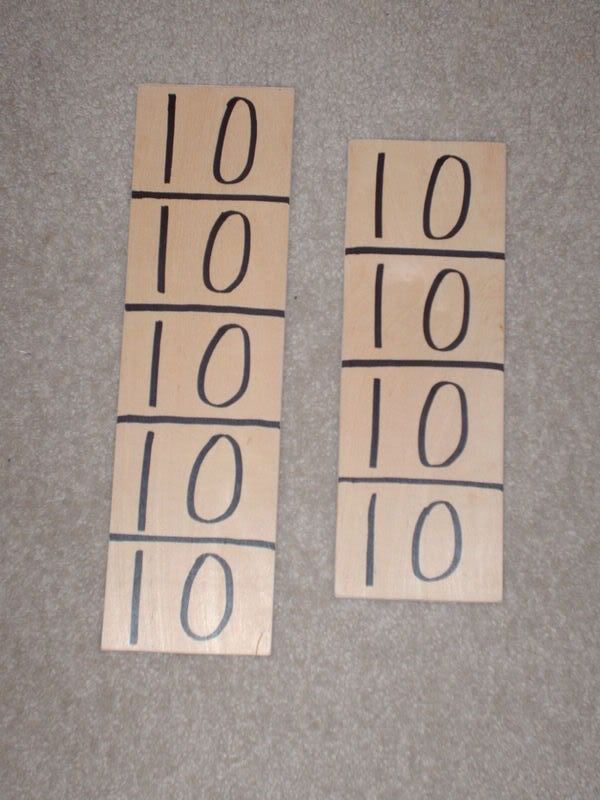
**Remember to space your numbers nicely on the spaces. You should have 1 number for every 2 inches of the board. That way when you stack them ontop of each other you are fully covering the 0's underneath.
Hope this helps you! I'll be finishing up my small number cards soon too!